Pete Martin The Painter Gloucester, MA

A fresh coat of paint can change the mood of a room.

Pete Martin the Painter, Gloucester, MA; Pete Martin the Painter, Rockport, MA; Pete Martin the Painter, Martin the Painter, Manchester, MA; Pete Martin the Painter, Essex, MA; Pete Martin the Painter, Ipswich, MA; Pete Martin the Painter, Wheham, MA;  Pete Martin the Painter, Hamilton, MA;  Pete Martin the Painter, Rowley, MA; Pete Martin the Painter, Beverly, MA;Pete Martin the Painter, Salem, MA:


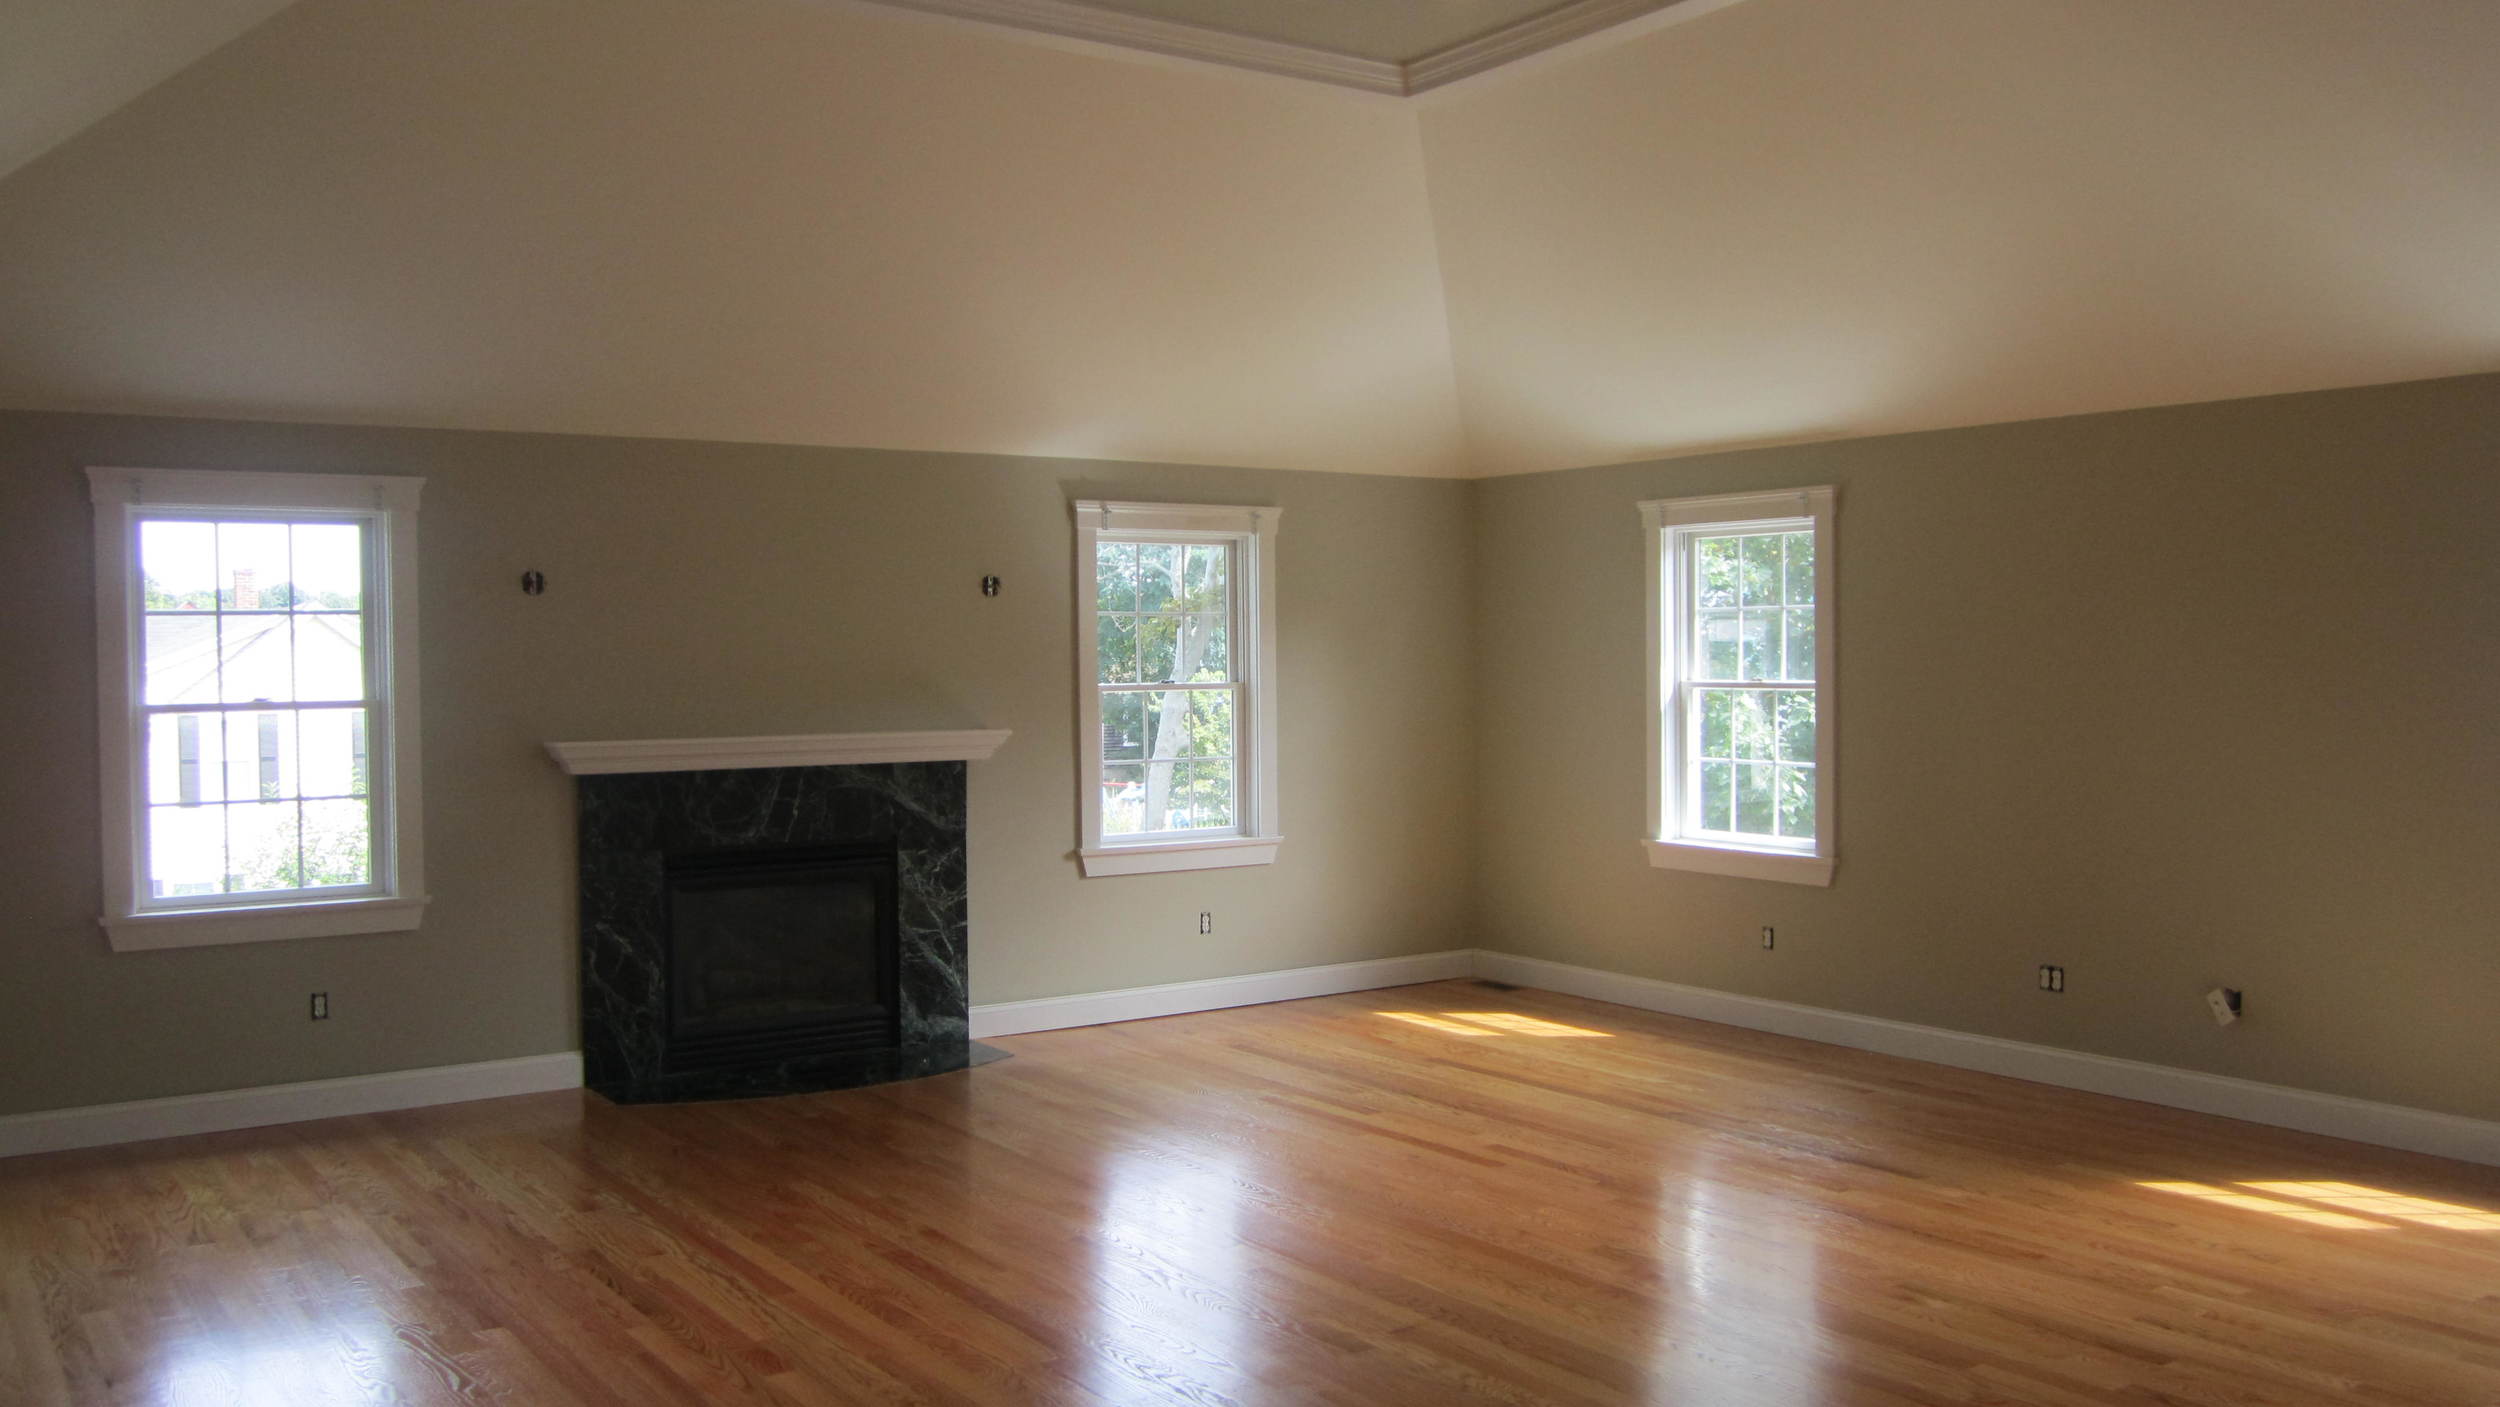
Preparation--the most important part of painting

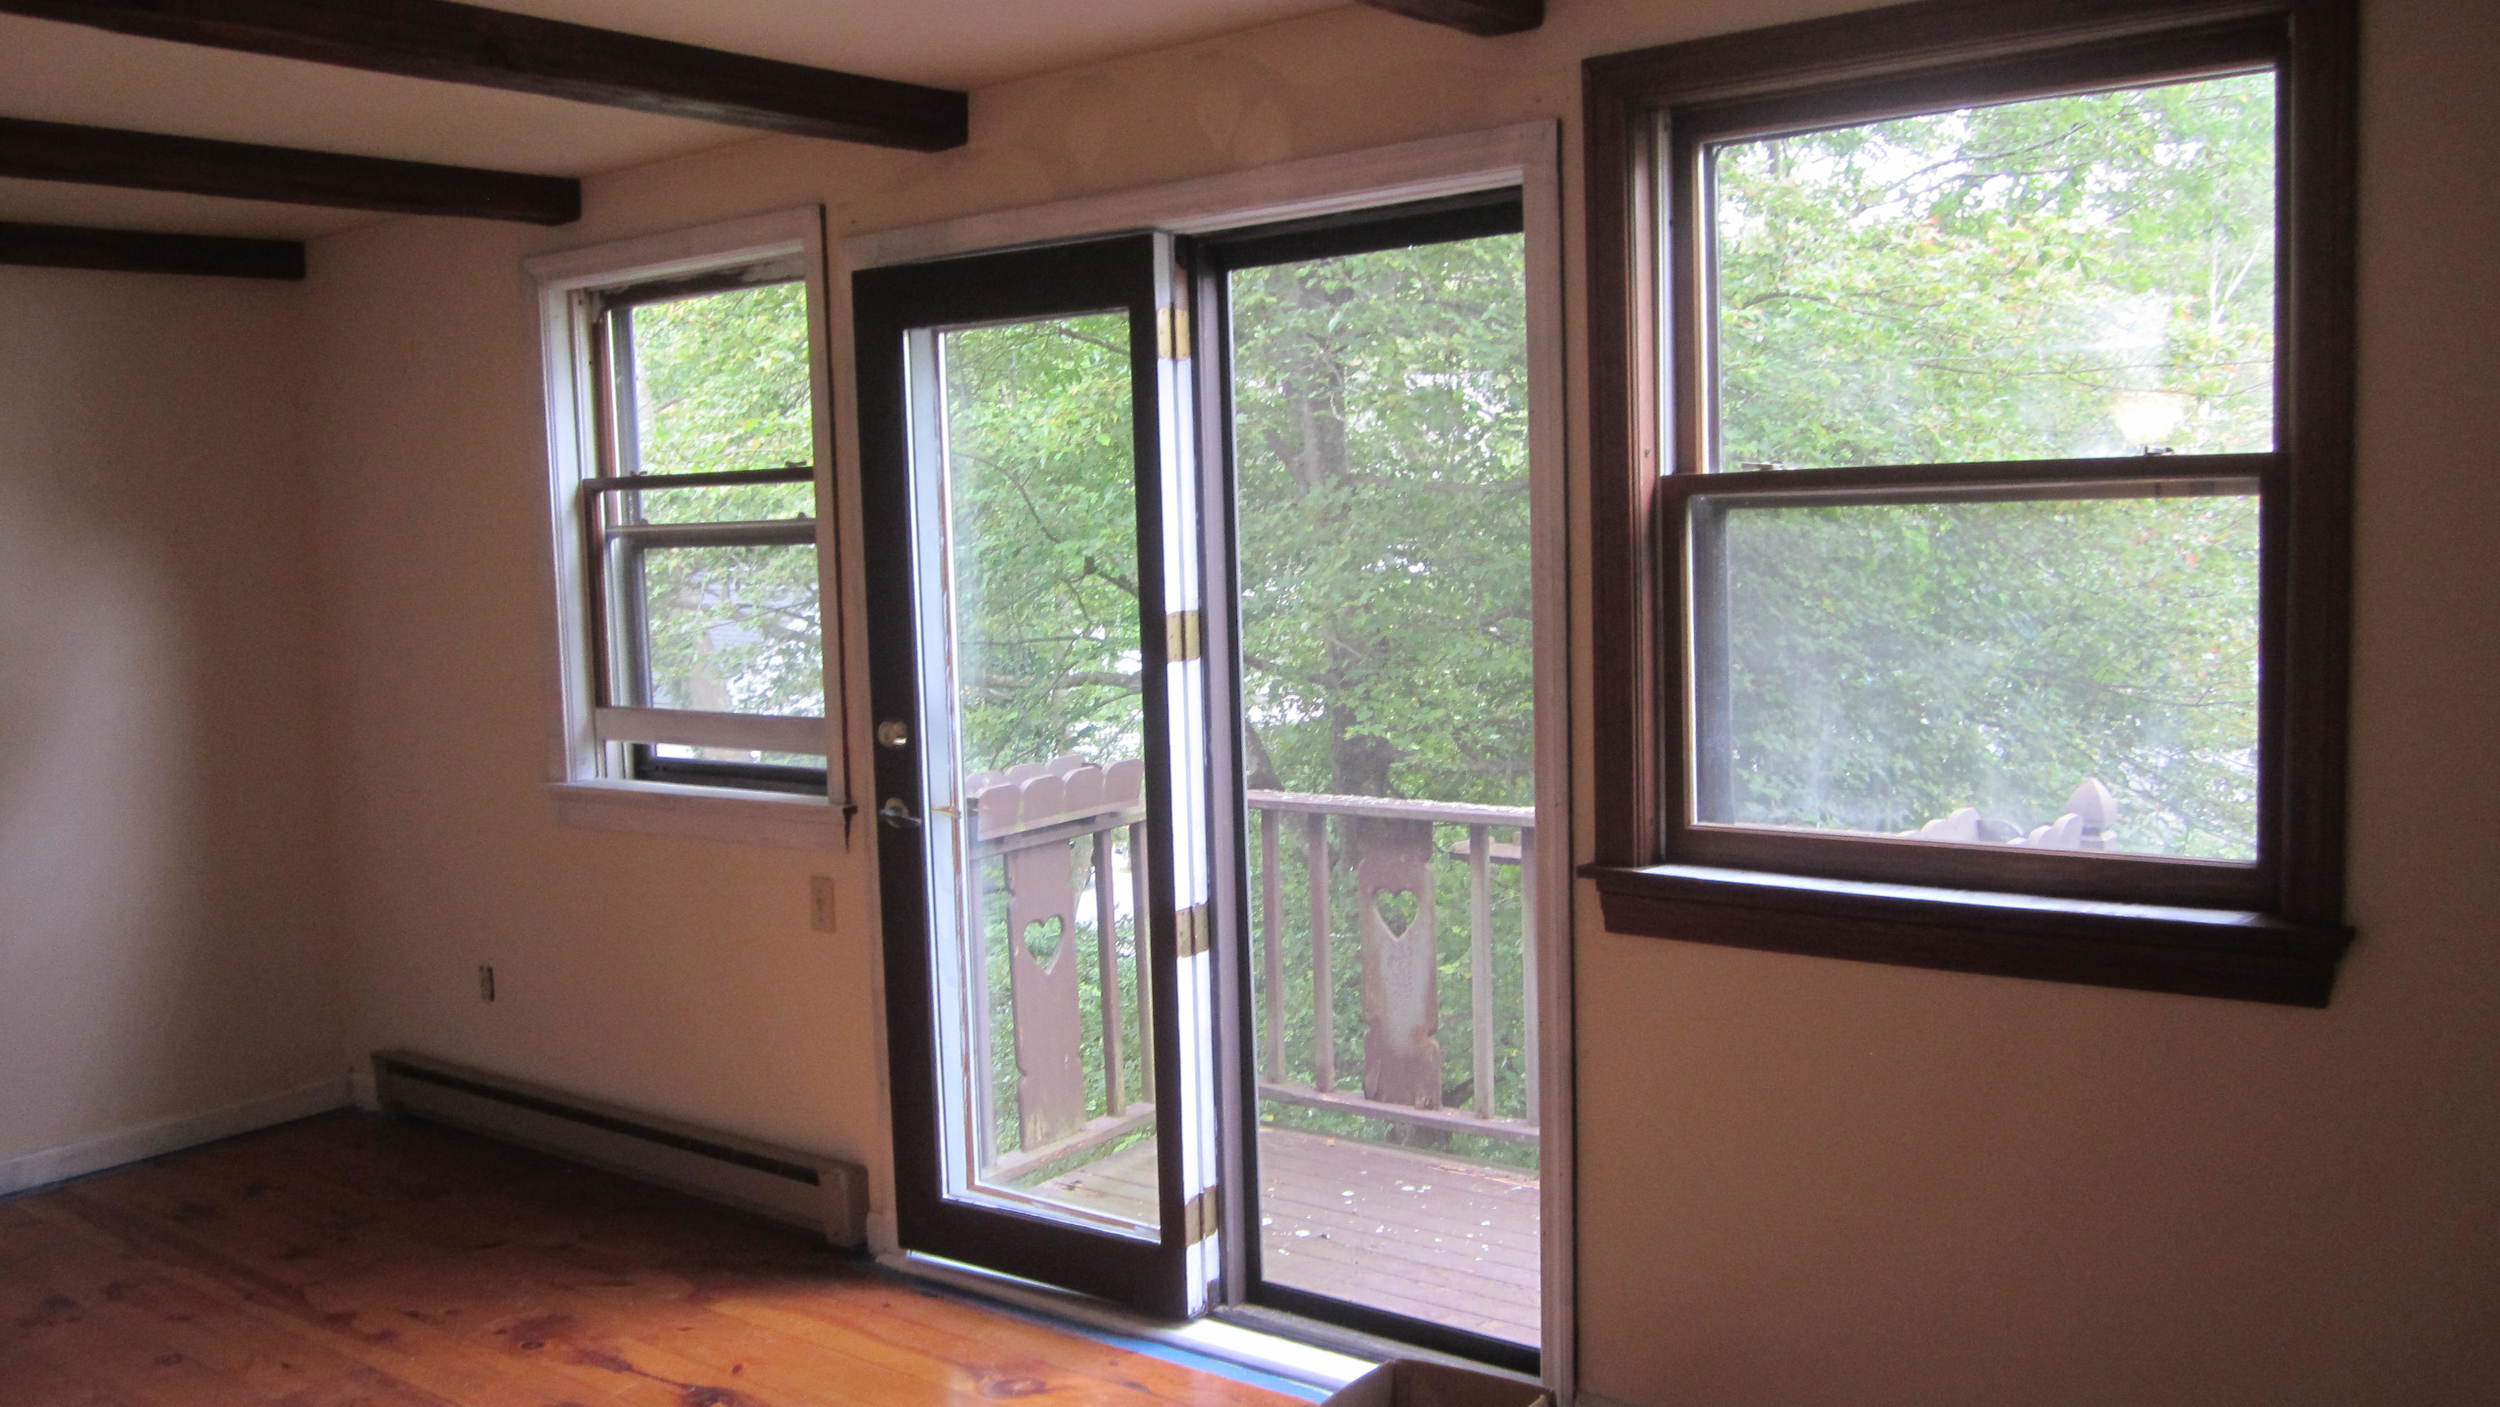
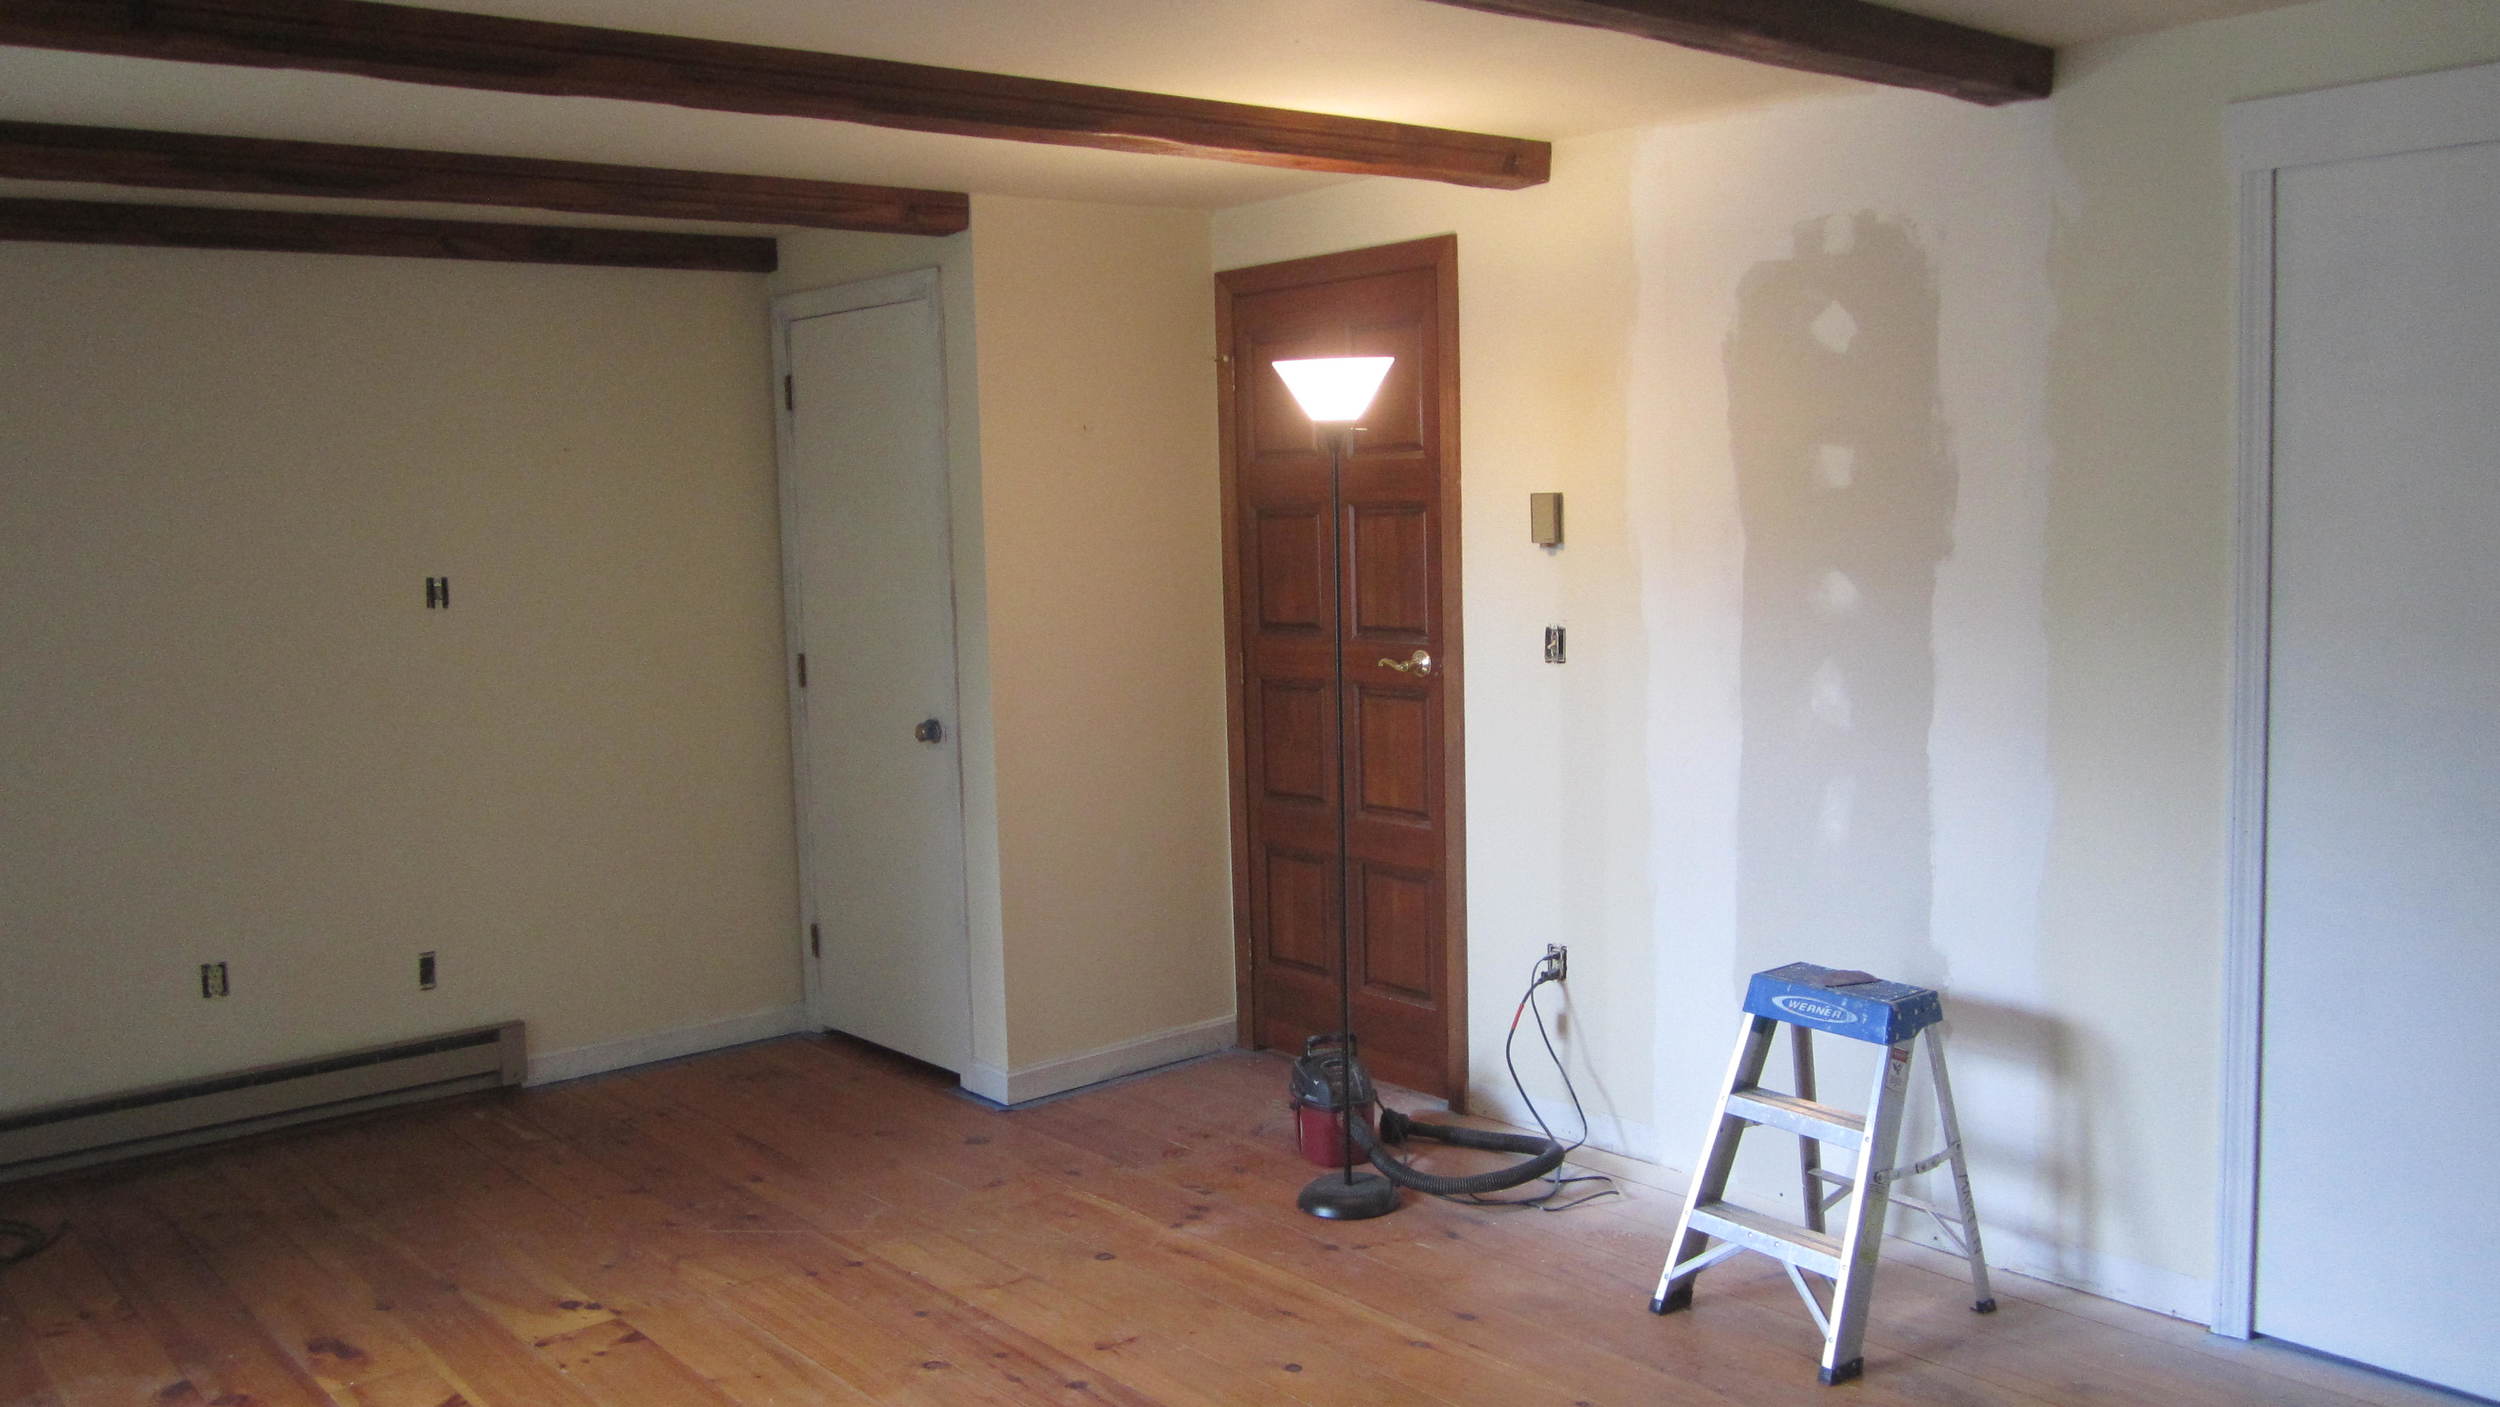
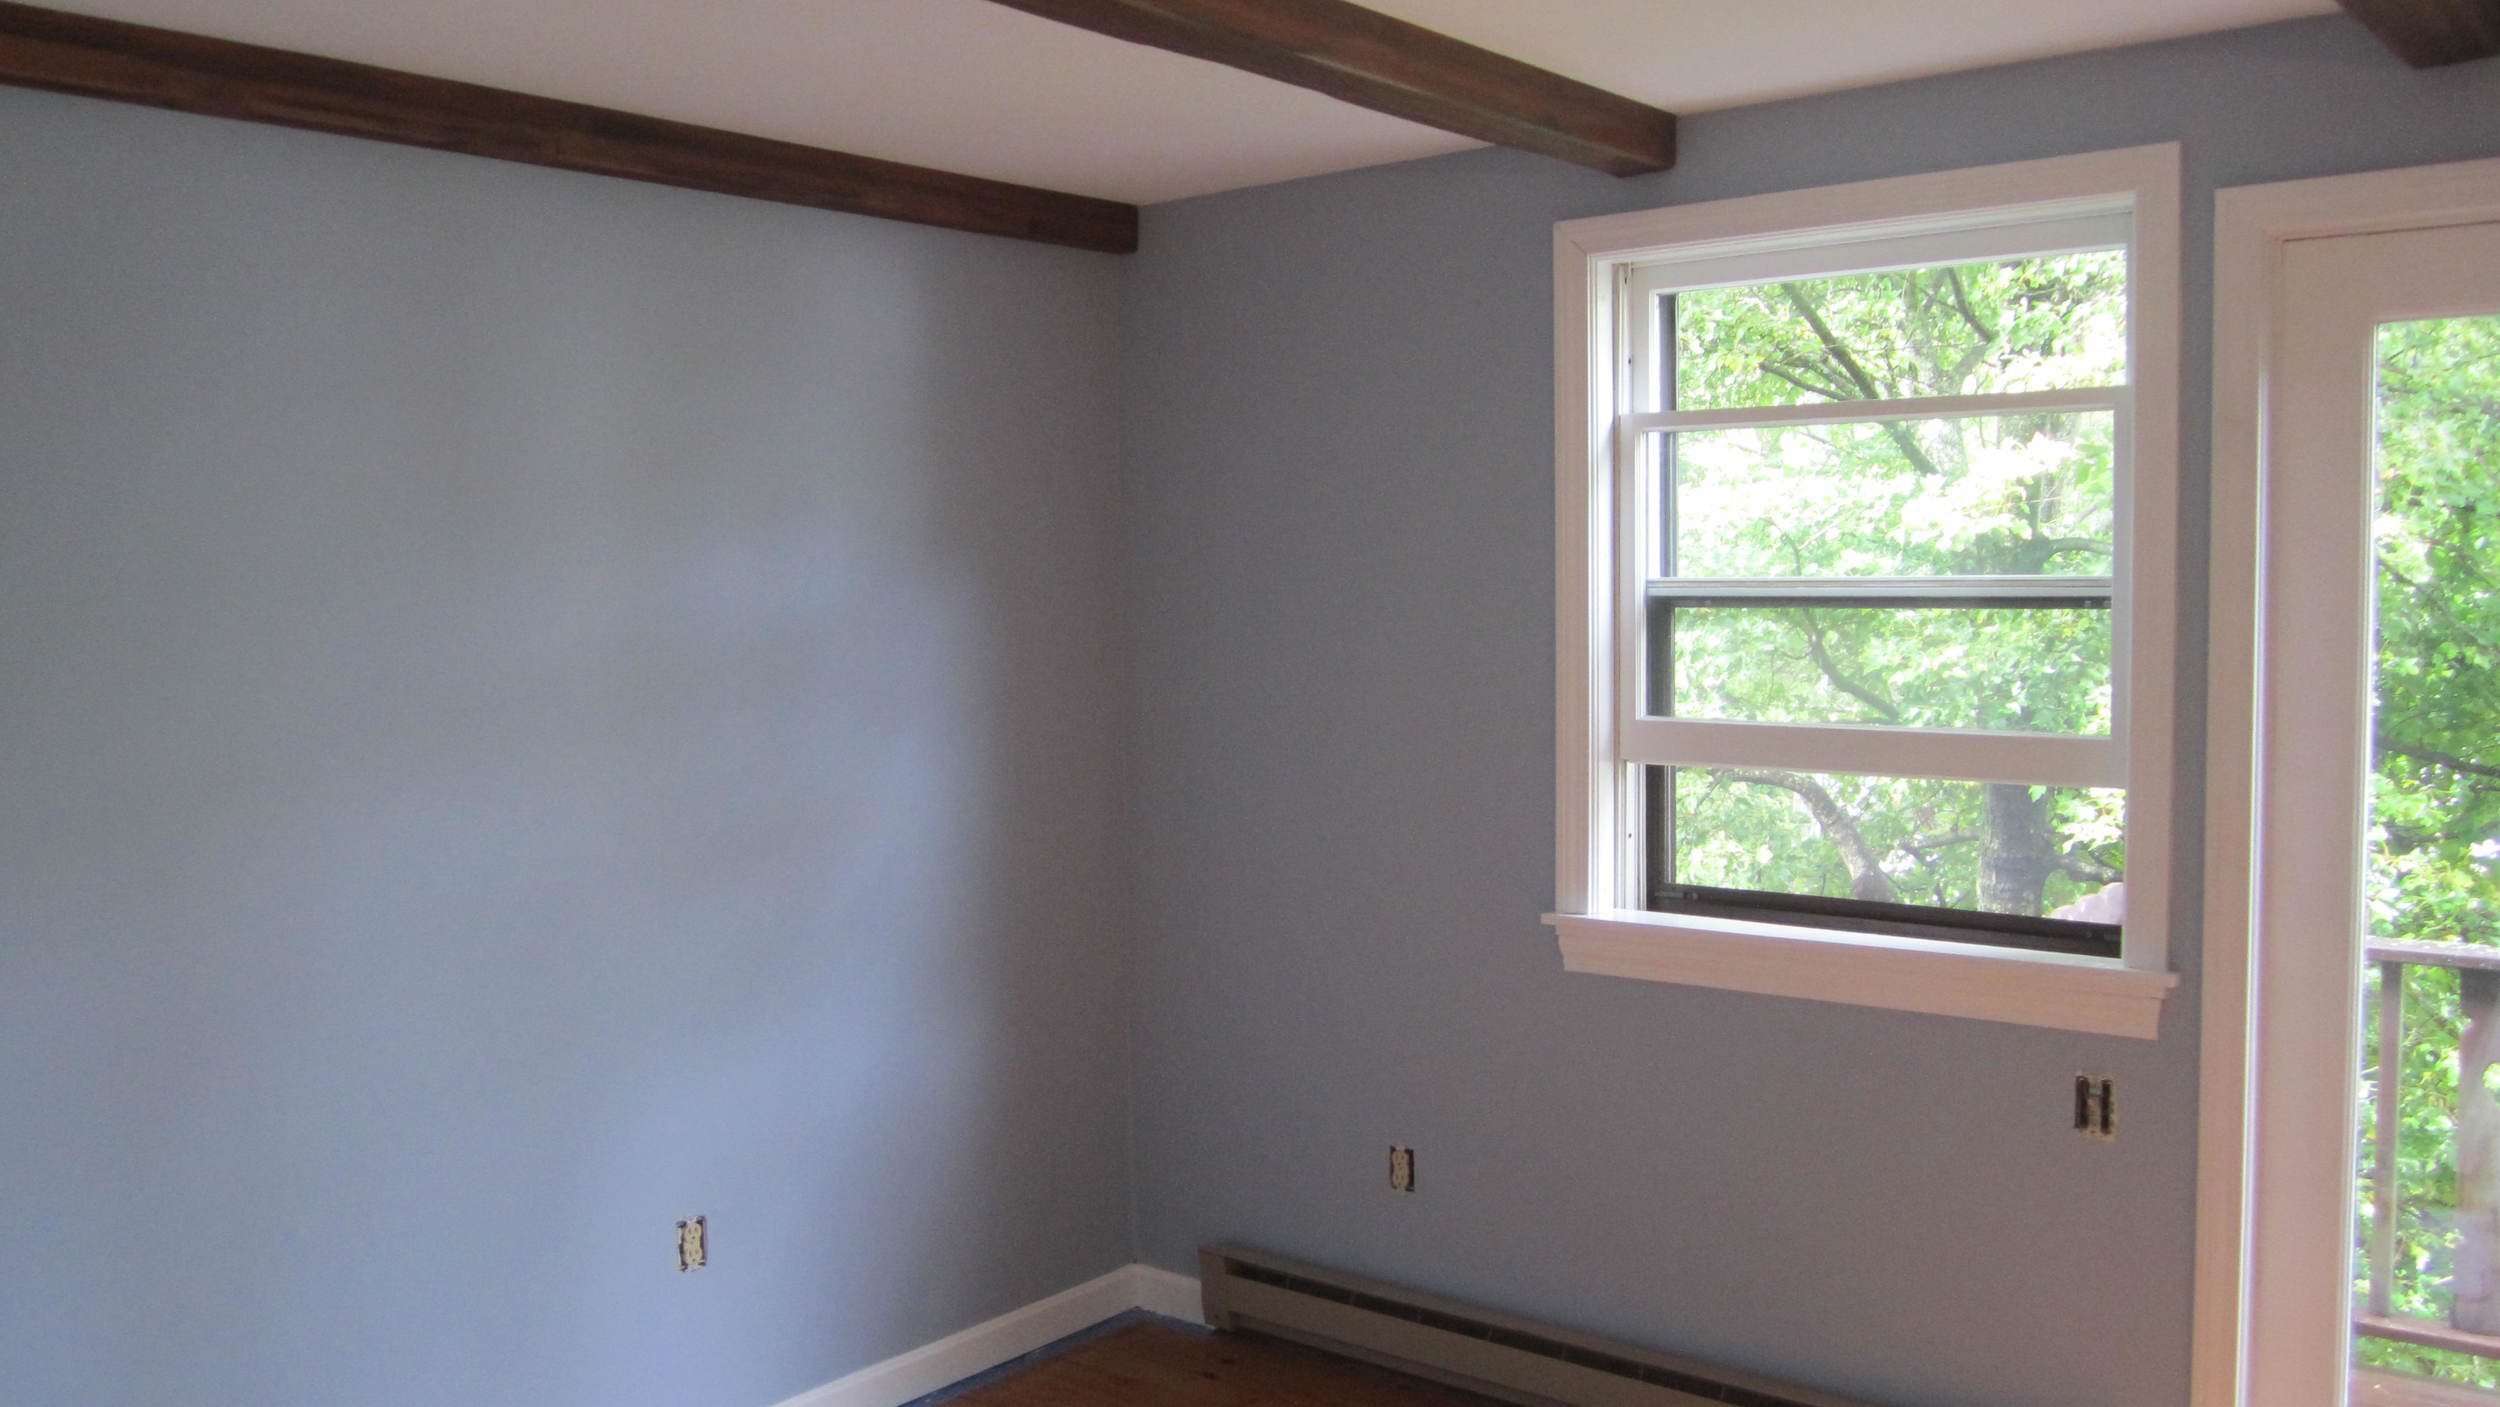
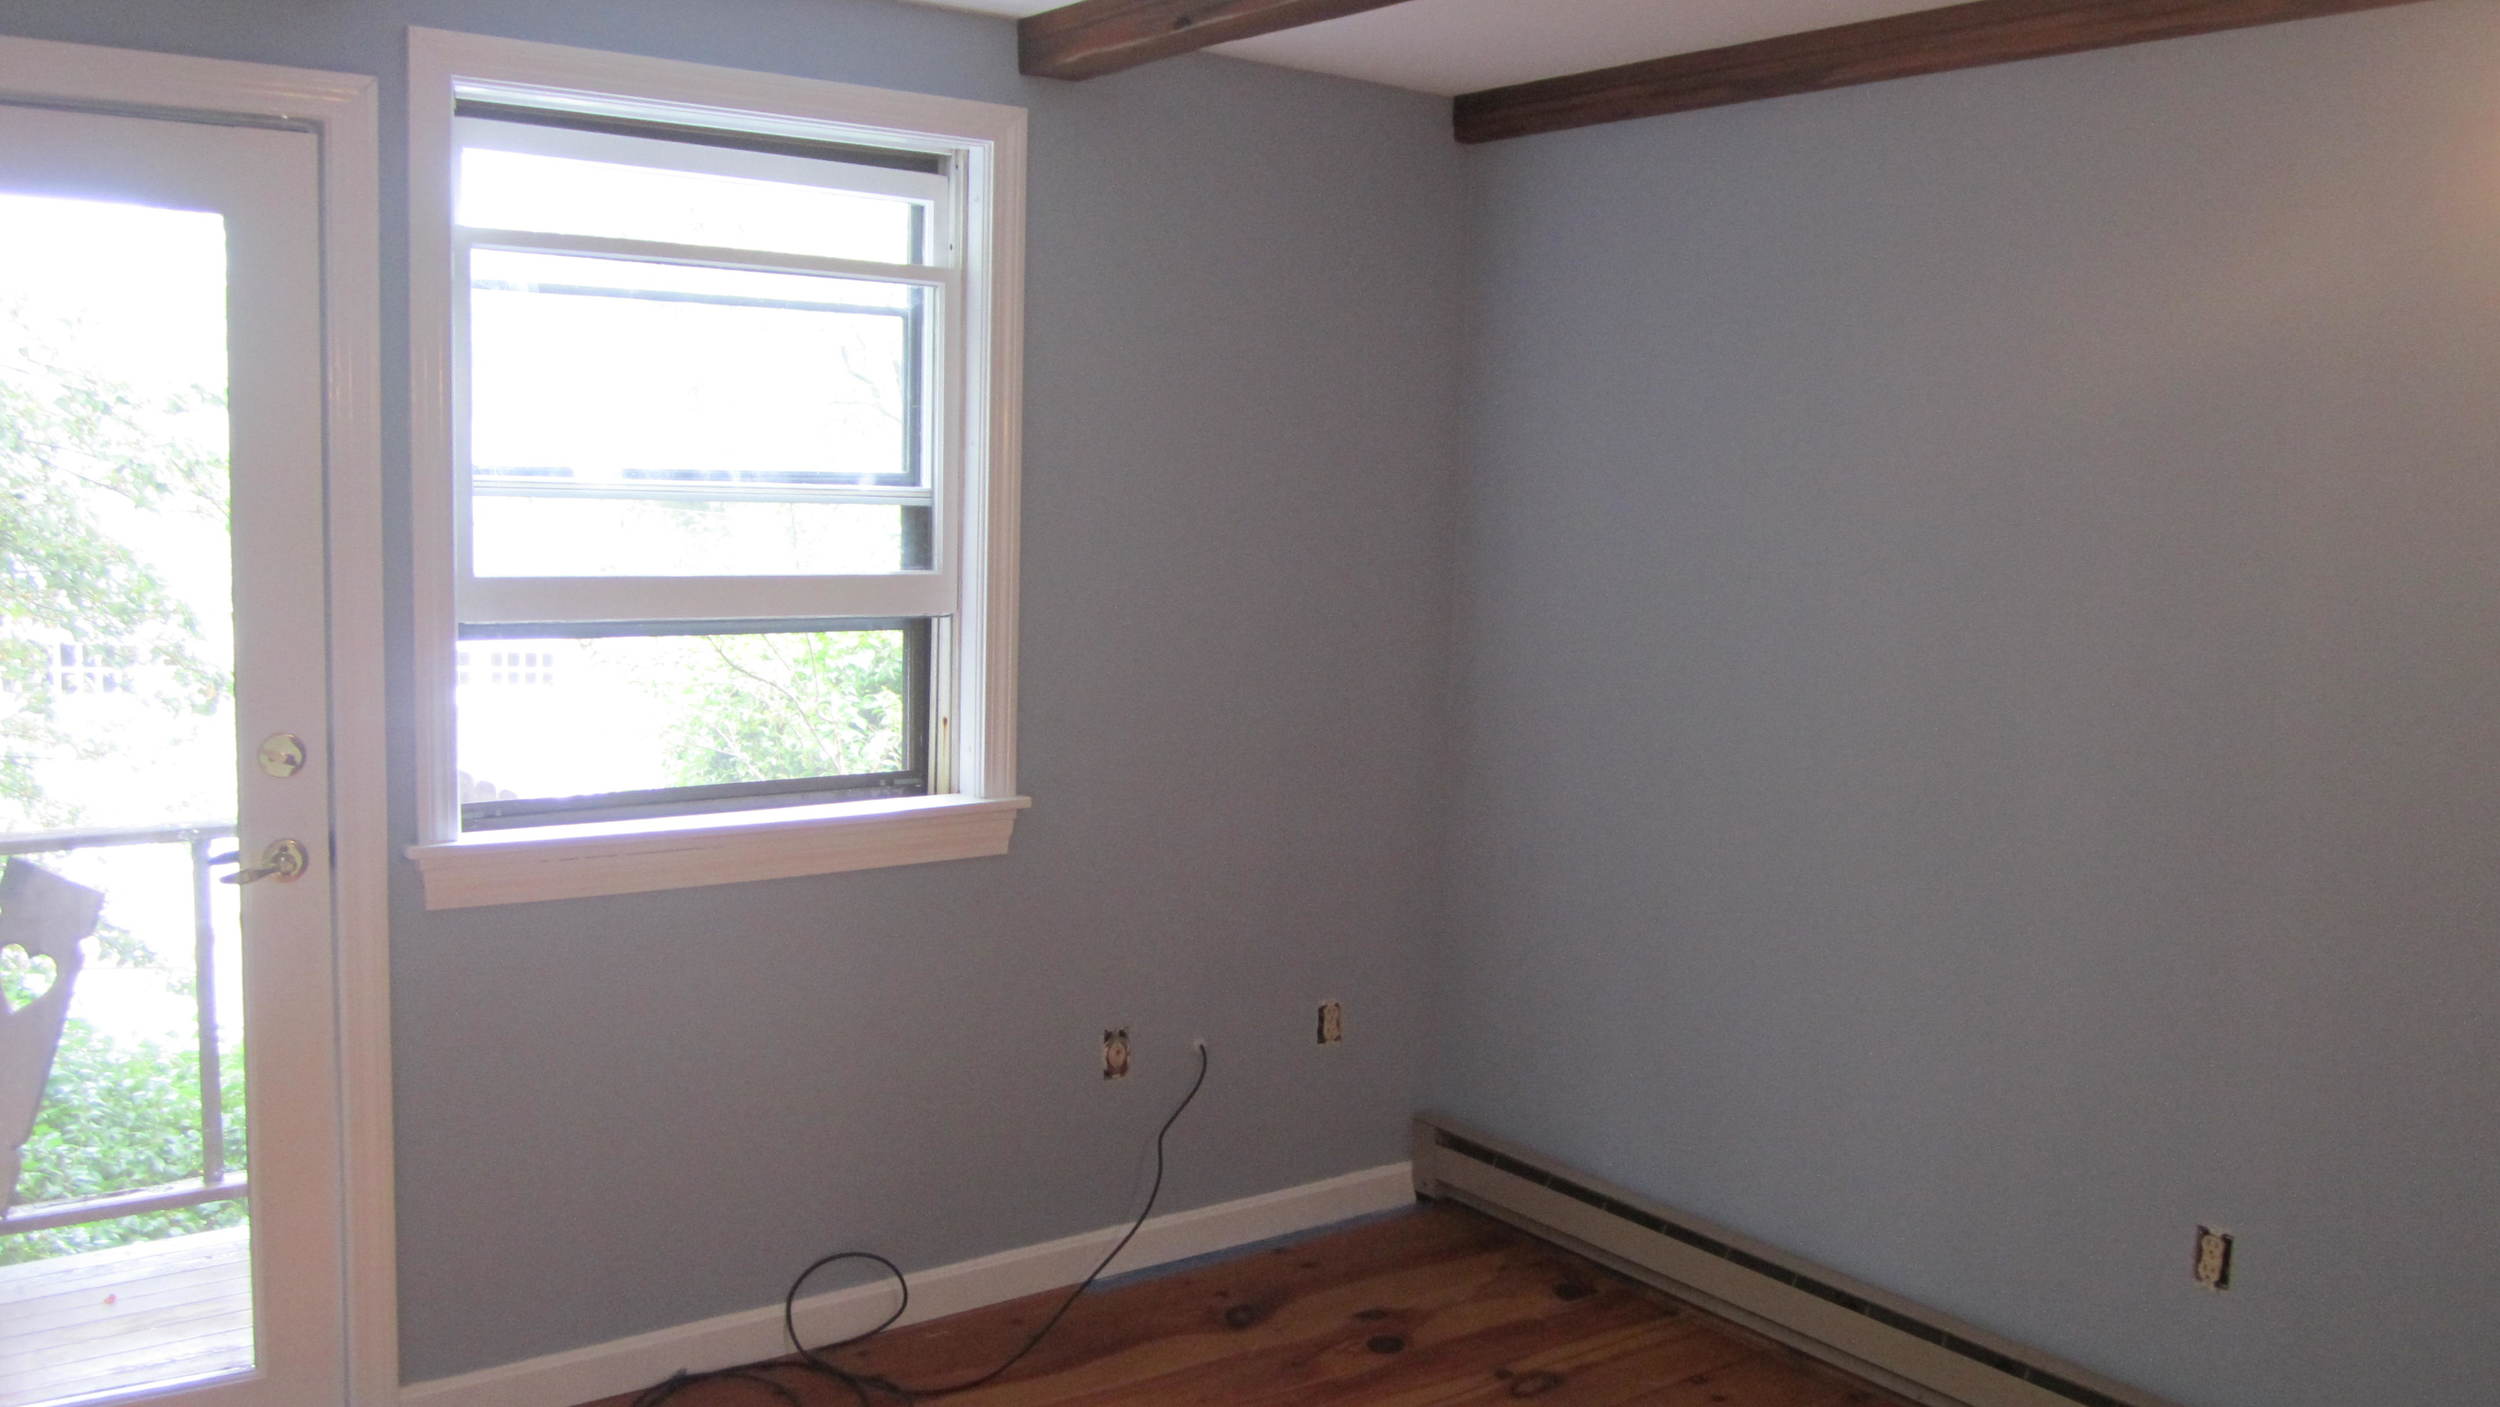
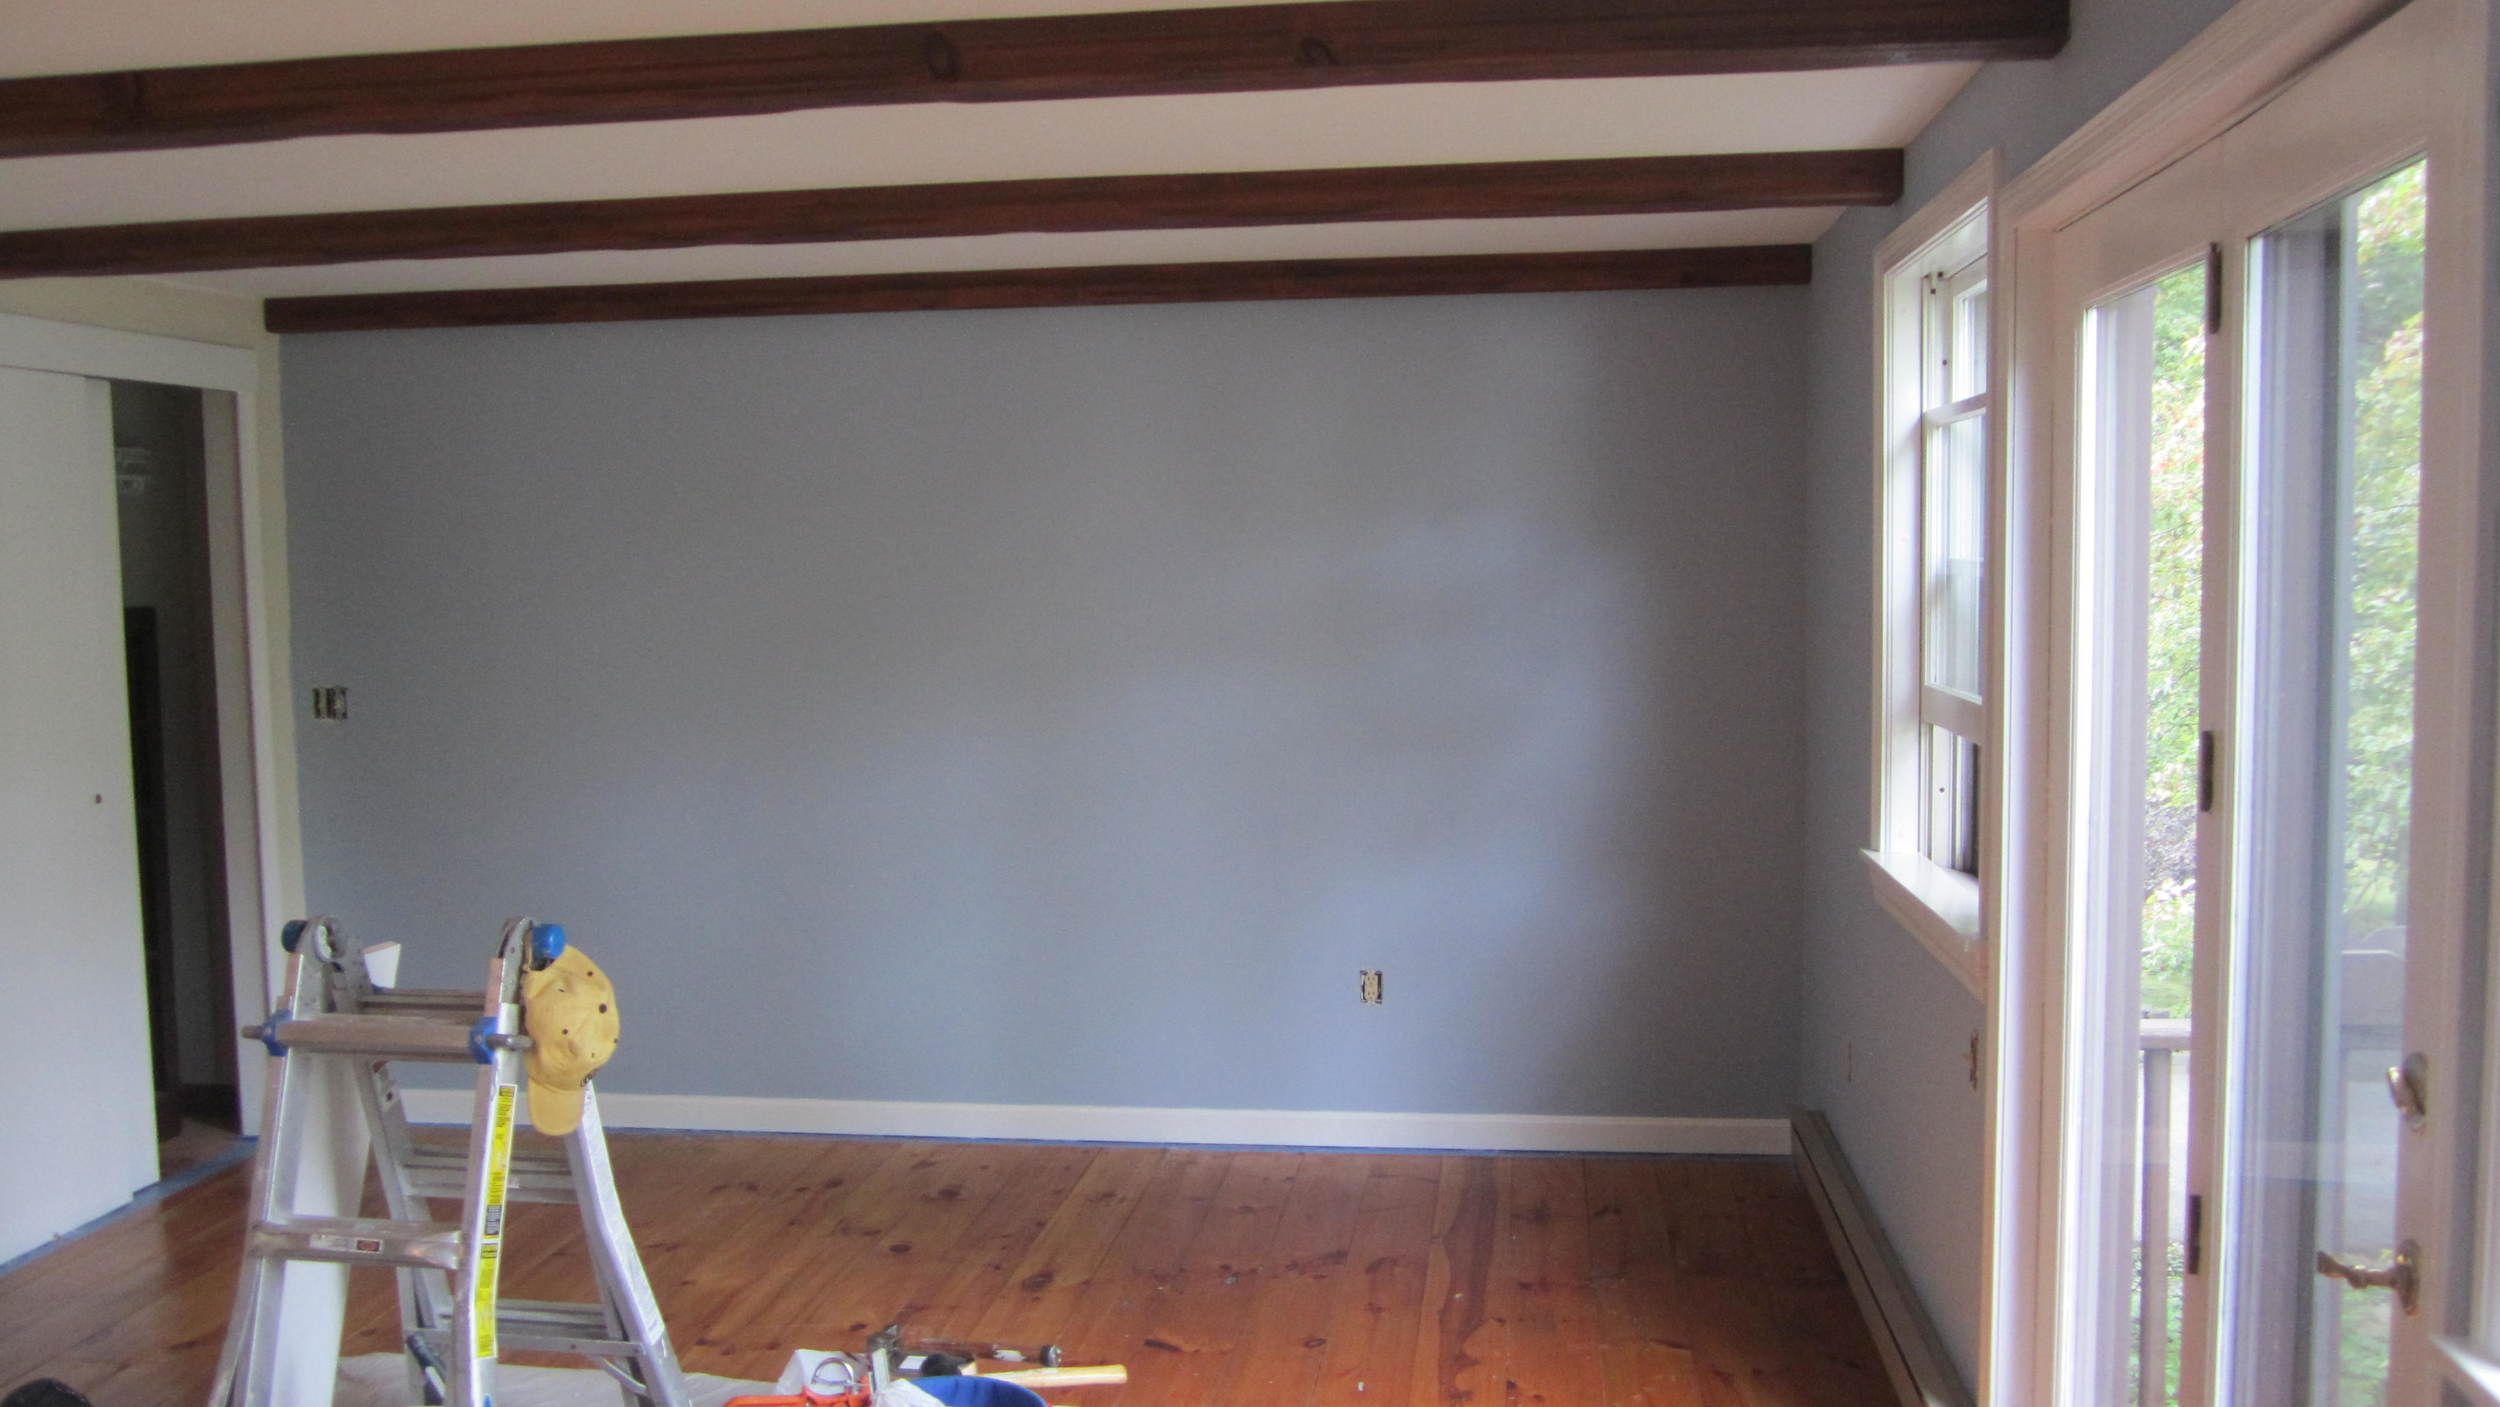
I have been working on a foyer stairwell for a condominium for the past week.  I spent the first entire week, of a job that will last a little over two weeks, doing preparation work.  The last time that the foyer was painted was in 1988, when the building was converted to a condominium.  I have been sanding, filling holes, fixing cracks, and I still have to wash the baseboards, dust and caulk before the real painting begins.  And before the final coat is applied I will have to prime any joint compound that I used on the cracks and holes, and I will also have to prime any bare wood that was exposed from the abuse that the walls and trim have been exposed to over the years.

Its a lot of work, but I am paid well to do a good job--its what is expected from me from most home owners, and to be blunt I rarely hear back from home owners, after they see my estimate,  that think painting  is just "slapping paint on the wall."  If you planning a DIY paint job in the future, you have to remember that if you want your paint job to look good, and you want it to last, you have to do the preparation and you have to do it right. 

I recently read an article on the importance of preparation by Scott Burt a painter out of Vermont.  His basic argument what you do before the paint is applied is often the culprit of paint failure.  Essentially, he argues, and I agree, that if paint fails, it most likely not the fault of the paint You can read his article at http://digital.turn-page.com/i/136567/13  It a short article, and an easy read.

Not Sure About a Color Change--Try a Sample

Are you thinking about changing the color of a room in your house, but you are unsure of what the new color will look like in the room. Well, paint companies have an answer to your problem.  Color Samples.  With a price tag that is usually under $10 you can have the color mixed that you want to paint the room. 

When you paint it on the wall, paint it in various spots in the room. Look at the color at various times of the day.  Remember that light drastically effects what paint looks like, and therefore the color will not look that same at dawn, noon, and night time.  You might find that the color looks much darker or much lighter than expected.   If it is not to you liking, you have not spent a ton of money on a gallon (or several gallons) of paint. Nor have you hired a painter to paint the room and then discover after he is done that you do not like the new color.

Pittsburgh Paint

I have not used Pittsburgh Paint a lot, but got a chance on a recent job.  I was very impressed.  Used Manor Hall Interior/Exterior Semi-gloss on the trim.  Second time using this paint, and it is now one of my favorite trim paints.  Levels (see very few brush strokes) great and leaves a hard finish.  The walls' color is Rendezvous, and the ceiling was done with California Diamond ceiling paint. 

Notice how the new colors bring out the beams much more than the tan that was on the walls and ceiling before the repaint.


Using two Colors on Walls

     Job that I recently finished.  Despite being a large room with lots of natural light this room appeared small and dank.  Just look what a change in color did for the room.  On the lower walls is Benjamin Moore Coastal Fog and the slanted walls have Benjamin Moore Mascarpone. 

Be Prepared for Touch Ups and Repaints

At some point you will most likely want to touch up a paint job, or you will have some home improvement work done, but want to keep the color that you currently have on the walls and trim.  The best way to ensure that you will be able to match the colors is to keep a record of the colors that you used.

The easiest way to do this is to keep the old paint.  But, if you do this there are some actions that you must take to ensure that the paint is usable.  First, make sure the cover is tight.  This means that all of the paint on the rim should be cleaned off before you put the cover back on.  You can buy spouts that are fairly inexpensive that attached to the rim that makes pouring the paint easier and keeps the rim clean.  The purpose of keeping the rim clean is to allow for a tighter seal when you close the lid.  Second. store the paint in an area where it will not freeze. If paint freezes it might ruin.  This is especially true for water based paints.  Third, keep a record of the color.  Usually, paint stores will put a sticker on the lid, with the color name, date that it was mixed, and the pigment amounts used.  If they do not do this, ask them to write it on the lid.  But, you must keep the top of the lid clean.  If you use all of the paint, keep the lid, or write down the information and keep it in a place that you will be able to find it later--don't be like me and keep it in a pile on top of your bureau.

If you take these steps you will be prepared when it is time to do some touch up work, or paint a new patch of dry wall after your home improvement work is complete.  

Getting Rid of Old Paint

If you are like me,  old paint hanging around in your house.  I like to keep left over paint in case I need it for a touch up. But, I also tend to keep paint long after it of any use to me. Perhaps, I painted my walls a new color, and it no longer makes sense for me yo hold on to the old paint.  Also paint can go bad.  This can happen if it freezes.  Or maybe the can was not closed properly and the paint has dried.

So, if you treat your old paint like I do, you now have a problem.  You want to get rid of the paint, but you cannot throw it out, and you cannot pour it down the toilet.  Well, here is a simple solution. 

You can through out paint--it just cannot be wet paint.  So the answer is to dry it out.  There are two ways to do this.  First, if there is only a small amount of paint in the can, open the can and place it somewhere where it cannot be easily knocked over by an animal or small child.  Wait for it do dry, and then throw it in the trash.  If you have a lot of paint you can dry it out with cat litter.  Mix the paint with cat liter and then spread it out on a old newspaper. The cat litter will absorb the paint, and after it fully drys it can be thrown out safely.   Let the left over paint in the can dry out, and the can, can also be thrown out.

Why Sand? (Why Does my Painter Do That)

Greetings, 

This is my first entry for my "Pete the Painter's Ramblings."   The intent of the blog will be to inform readers on topics dealing with the painting profession. 

Why Sand?   More than once I have had customers that were surprised when I told them that it is necessary to sand before putting on a fresh coat of paint.  And, they have told me that when they did the painting themselves in the past that they did not sand.  Big Mistake!

The purpose is sanding is to create a rough surface for the new layer of paint to adhere.  You may notice when you have your house painted that the painter will not sand before he puts on second coat of paint.  On the surface this seems to make little sense. Why sand the the old paint and not the layer which the final coat will rest.  The reasoning has to do with the curing of paint. 

Most  paint manufacturers recommend  to wait somewhere between two and four hours before applying a second coat of paint.  Despite being able to apply a second coat on the first coat, the first coat if far from fully curing. 

Have you ever had the problem of taking off an electrical plate off of a wall and have the paint under it come off with the plate.  Very annoying.  The reason this occurred is because whoever placed the plate on the wall had not waited long enough.  It takes almost one month for most paints to fully dry .  I always tell my customers to wait a week before they put anything back on the walls and to do not use any harsh abrasives on the paint for one month.  

This brings me back to why a painter will sand an old coat of paint and not between coats of the fresh paint.  When you hire a painter,  the paint that is already on the walls and trim has been there for a very long time, and is very hard.  Therefore is should (must) be sanded.  If it is not sanded the new coat will hot adhere properly.  However, the first coat of fresh paint is still soft and malleable, and can accept a second coat without  affecting the integrity of the second coat.

Of Coarse there are always exceptions to the rules.


by: Peter Martin (Pete the Painter)